Developed by engineers from the Google Brain team within Google’s AI division, TensorFlow is an open-source framework (released in 2015) dedicated to machine learning. It has since become one of the most widely used tools in the field.
In this article, I’ll share an example of how image and video recognition can be applied to SEO. The goal is to automate ( more realistically, semi-automate ) the optimization of image and video files. As we’ll see, human review is still necessary.
Installing Tensorflow
TensorFlow can be installed in several ways. Here, we’ll use the simplest one: pip.
Let’s assume Python is already installed on your machine (if not, I can help with that).
Run the following command:
$ pip install tensorflowOnce TensorFlow is installed, add the necessary libraries:
$pip install Cython
$pip install pillow
$pip install lxml
$pip install jupyter
$pip install matplotlib
Then download the Github archive “models” from Tensorflow.
We then need to install the Protobuf library (developed by Google, and used in particular for internal inter-machine communications. Messages are serialized in binary format). Download the “protoc” archive, version 3.4.0.
The archives must be displayed in the same folder as below:
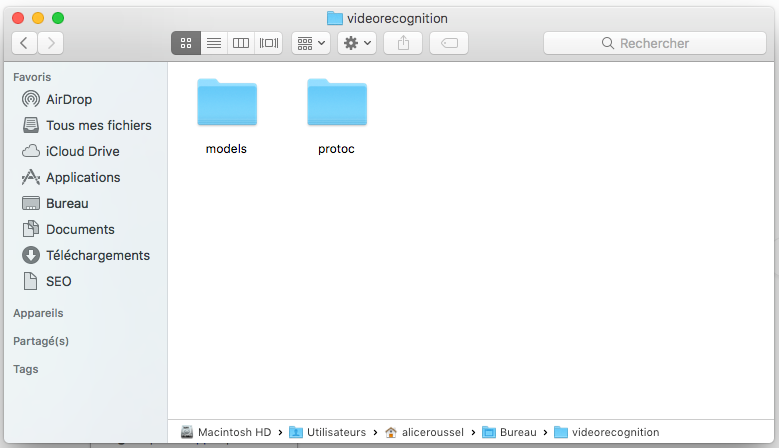
Then enter the following command:
export PATH=$PATH:/Users/aliceroussel/Desktop/videorecognition/protoc/binStill in the terminal, we place ourselves in the “research” folder:
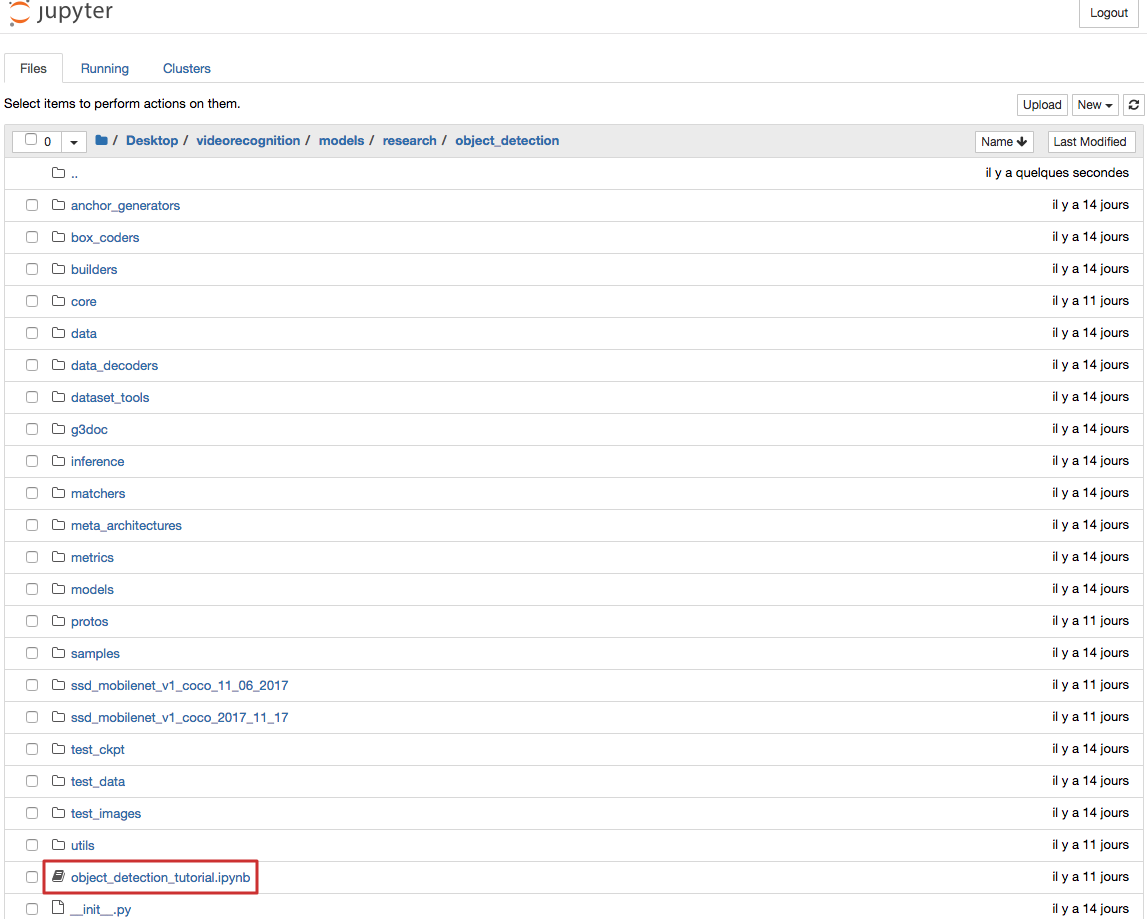
cd /researchprotoc object_detection/protos/*.proto –python_out=.Then, it is necessary to recover the notebook “object_detection_tutorial.ipnyb” (I share it with you via my Drive), and replace the existing notebook which is in the directory :
videorecognition/models/research/object_detection/Installation is now complete 🙂
When I first installed it, it was necessary to use an earlier version of TensorFlow for it to work but now it works with version 1.8.
Image detection
We now get to the heart of the matter with, as a first step, image recognition. We run the following command:
jupyter notebookThen we open the notebook that interests us:
All sections are then executed until “Detection”. They are necessary for importing libraries and preparing the object recognition model provided.
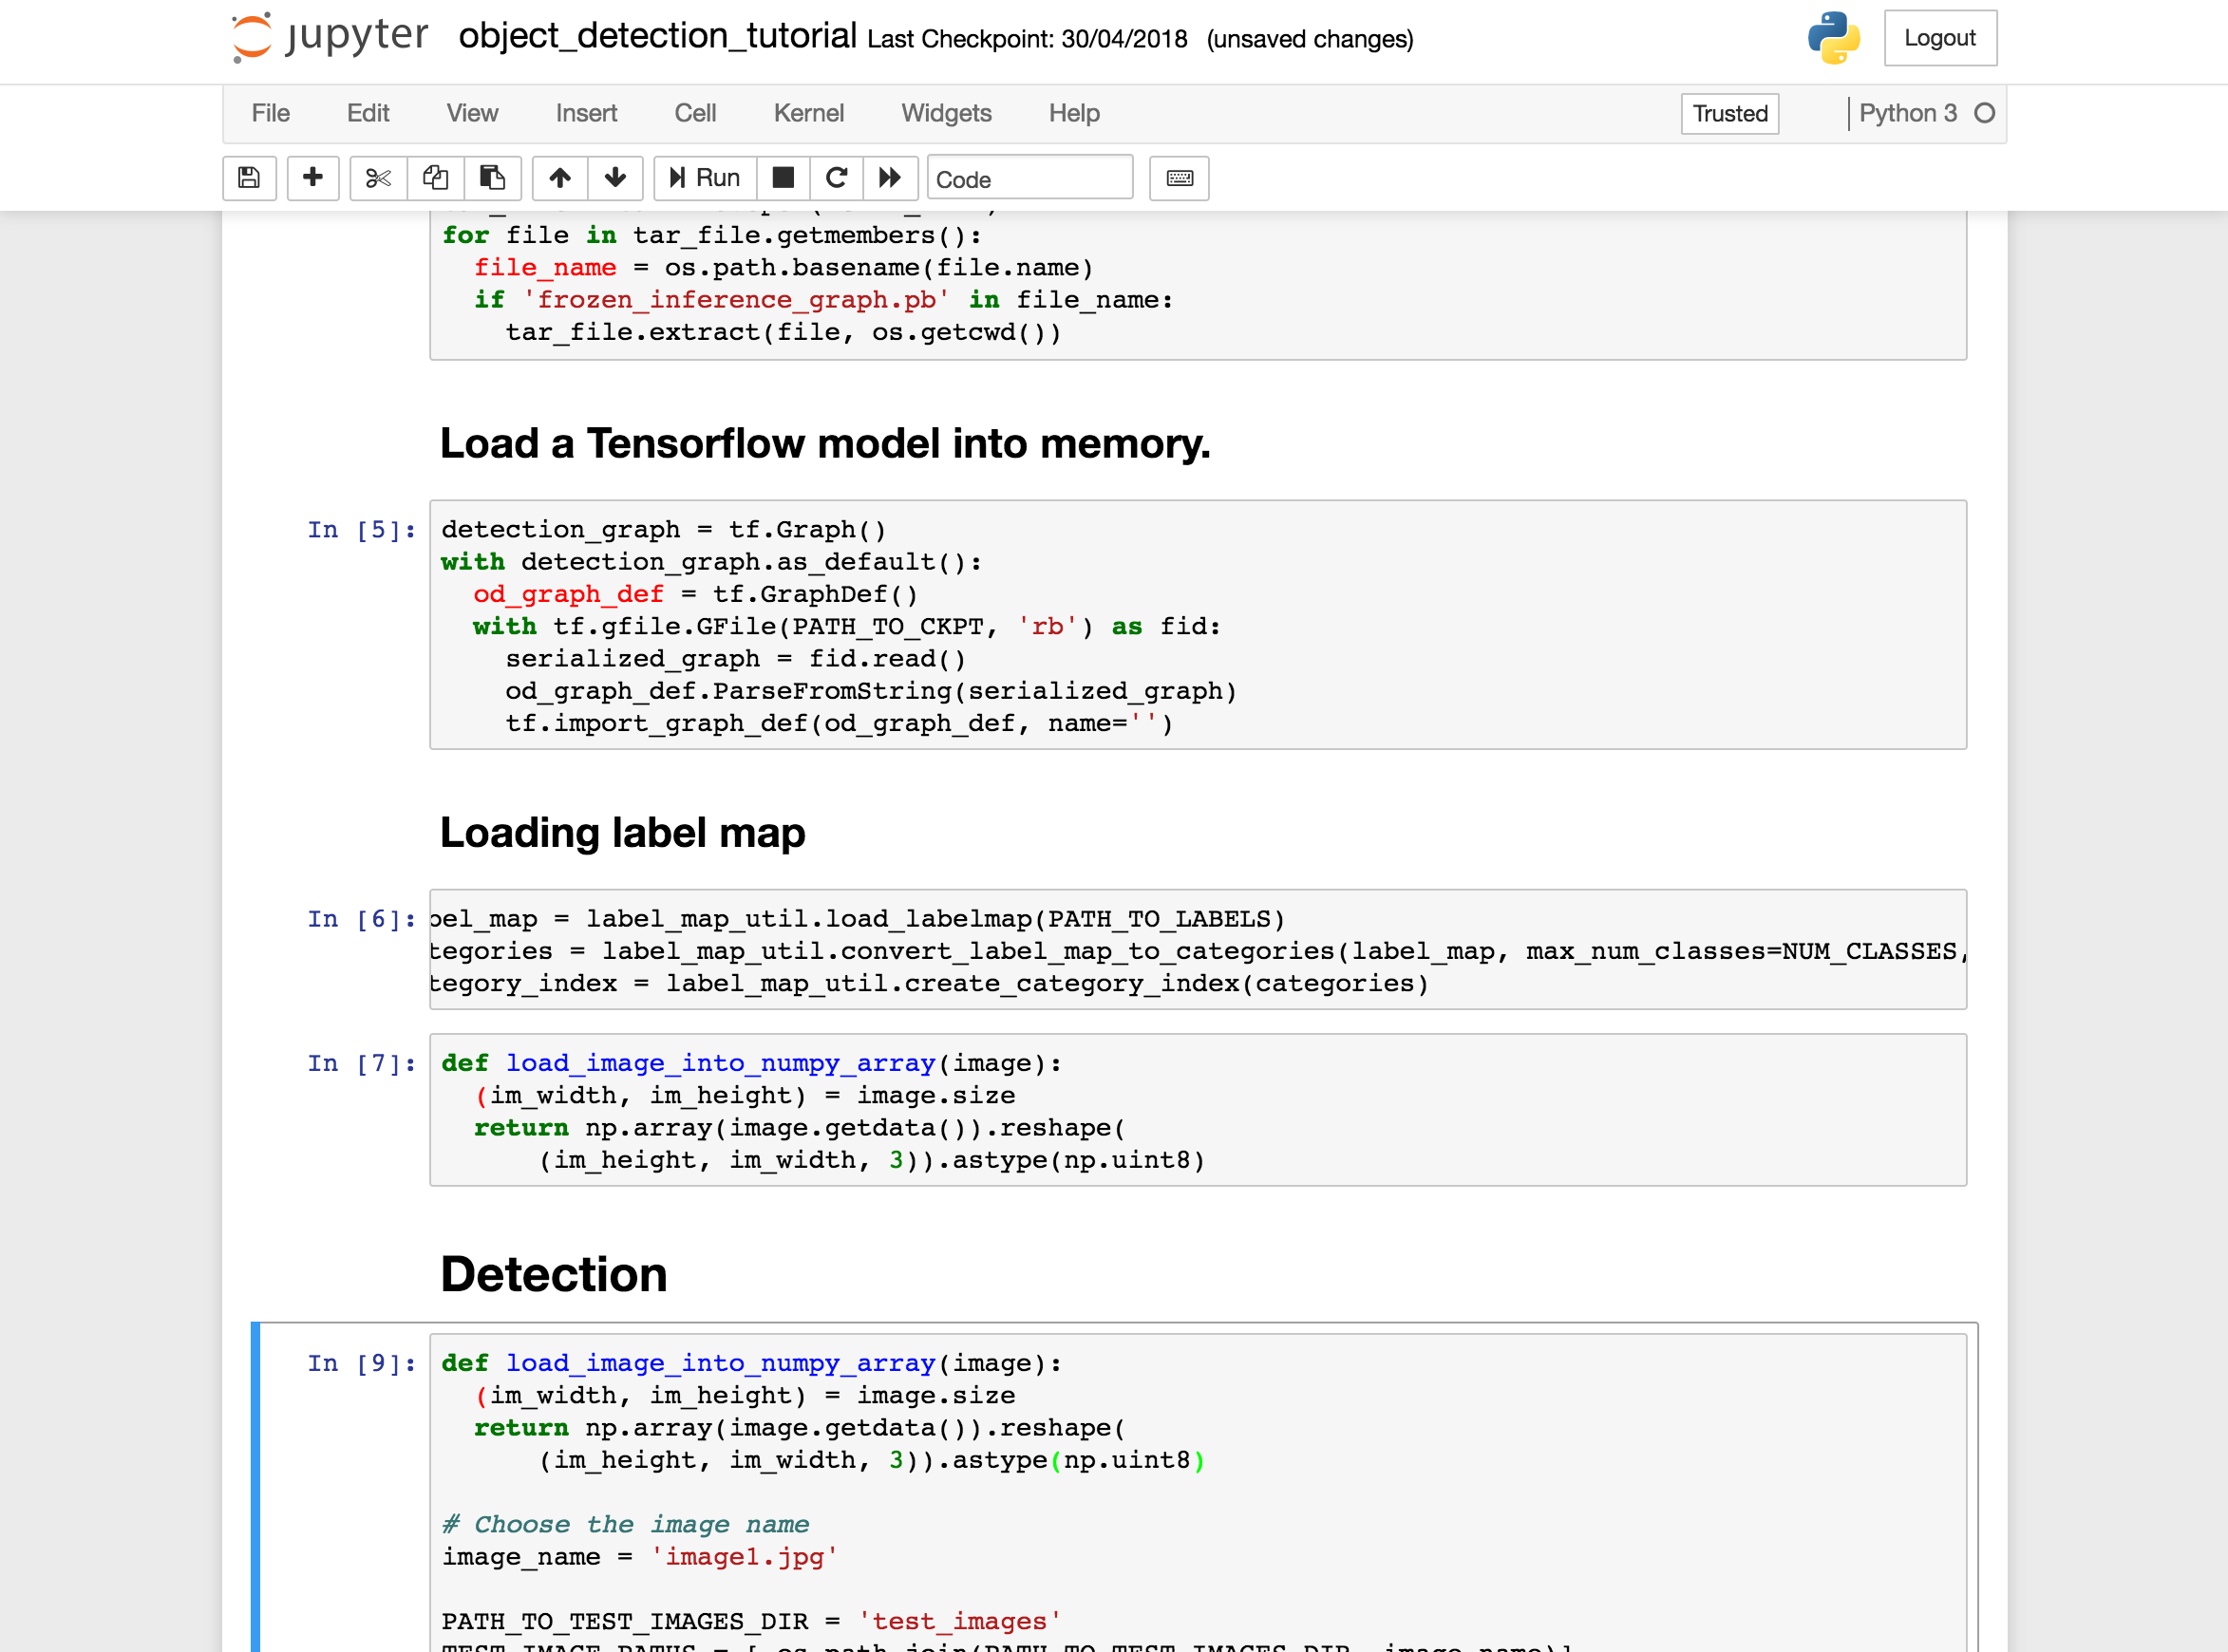
Then, you must indicate in the directory /videorecognition/models/research/object_detection/test_images/ the images you want to analyze.
For this test, I used a product image from Sézane—a good use case for automating ALT tags and image captions for an e-commerce website.
In the example, the model correctly identified a person with a confidence score of 81.4%.
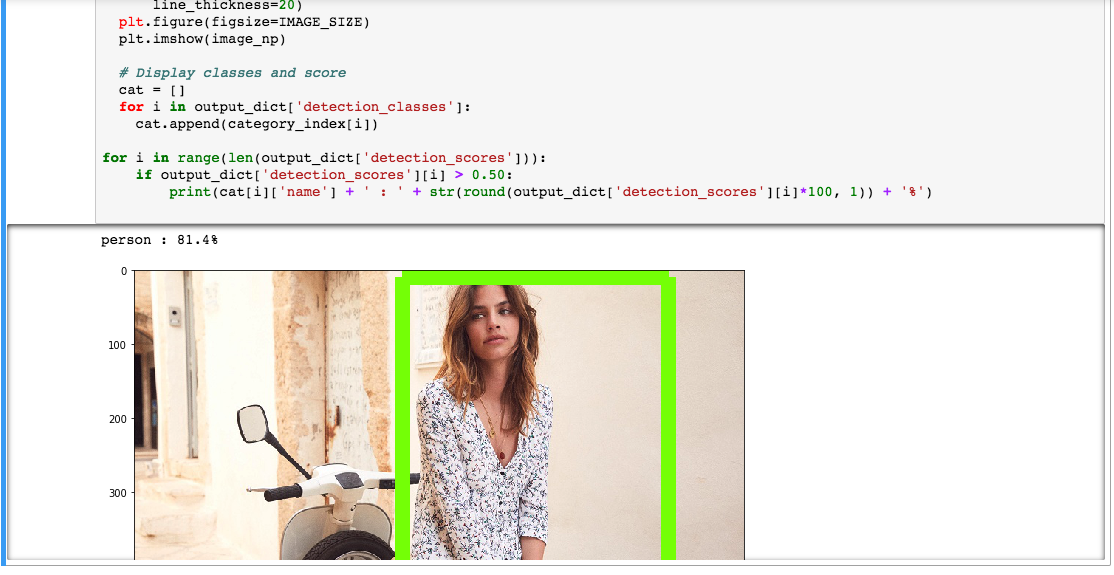
Obviously, the model does not stop there (otherwise, our objective would not be reached) but allows indeed to identify other elements. In this case, it is the type of clothing worn by the person that would interest us.
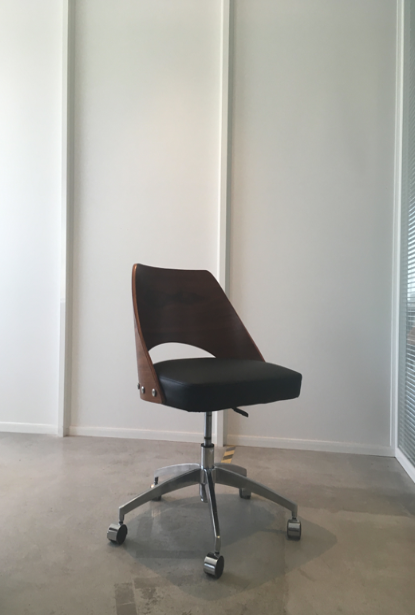
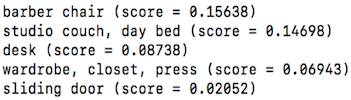
It can also recognize other objects: when I tested it on a chair, it was identified as a barber chair. The accuracy and level of detail make it particularly useful for extracting long-tail keywords.
Video recognition
Here, the goal is to generate a description of a video (either full or partial) to improve its visibility on YouTube. You could even combine this with speech recognition to automatically produce subtitle files.
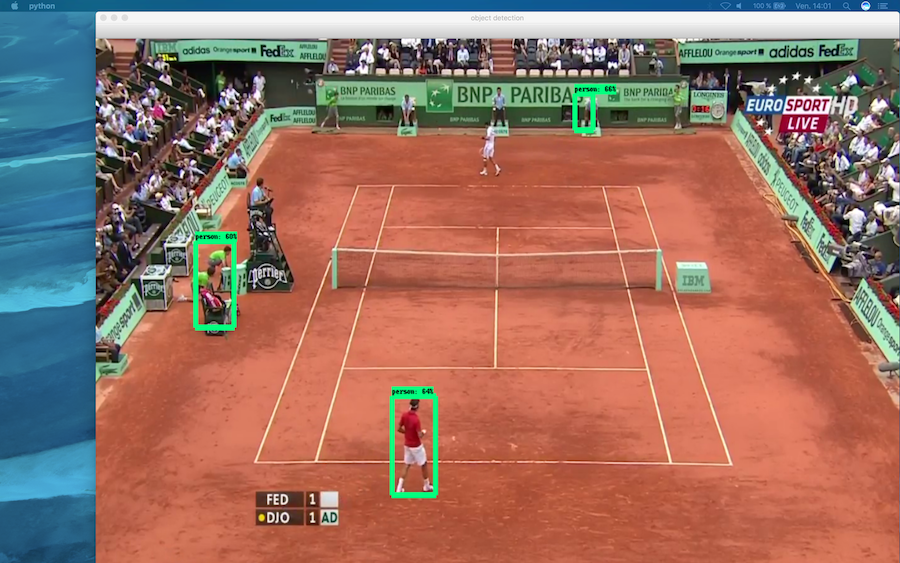
For the example below, I used a video from the French Open featuring my favorite tennis player, Roger Federer.
So we execute the following section, taking care to indicate the path to the video :
# mp4 format
cap = cv2.VideoCapture(‘/Users/aliceroussel/Desktop/tennis.mp4’)
The functionality is still perfectible but it is a good start, and it would be necessary to work on a specific learning base for a type of video or images in order to perfect the optimization of images and videos.
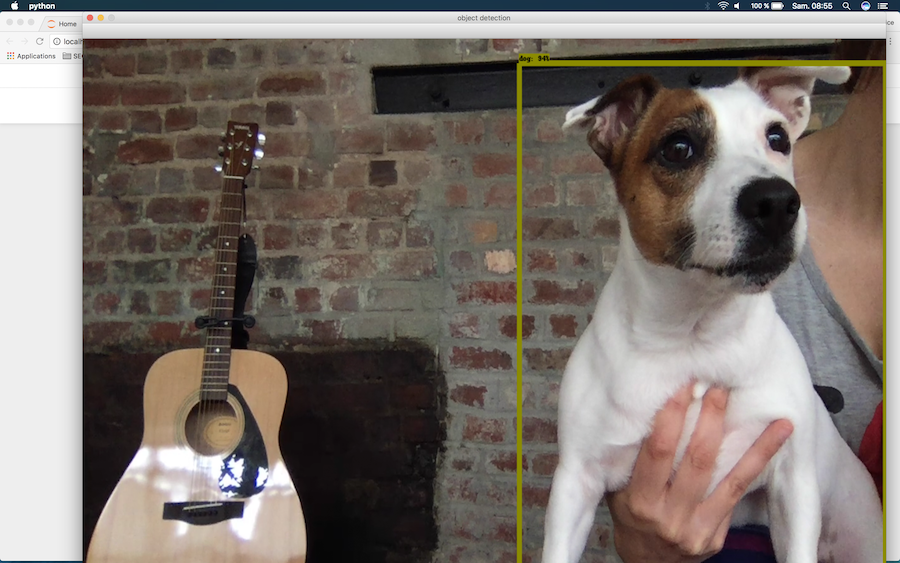
Real-time recognition with a webcam
Video recognition can also be used in real time via your webcam.
To do this, simply comment out the video path in the code.
There’s a short delay between the appearance of an object (like a water bottle) and its identification, but the model works quite well; even when tested on my Jack Russell!
You can also use this feature through the Google Vision Kit, available at Target.
In a follow-up article, I’ll explore automating entity and sentiment analysis by building a custom web crawler that uses the Google Cloud NLP API.
 Alice Roussel
We will see how to export the results to .xlsx format. This is obviously the most important point since it is it that allows, in the end, the semi-automatization of the process.
This article was written in collaboration with Pierre Lopez, who was then a Data Science intern in my SEO team, specializing in Natural Language Processing.


Comments ()